.jpg)


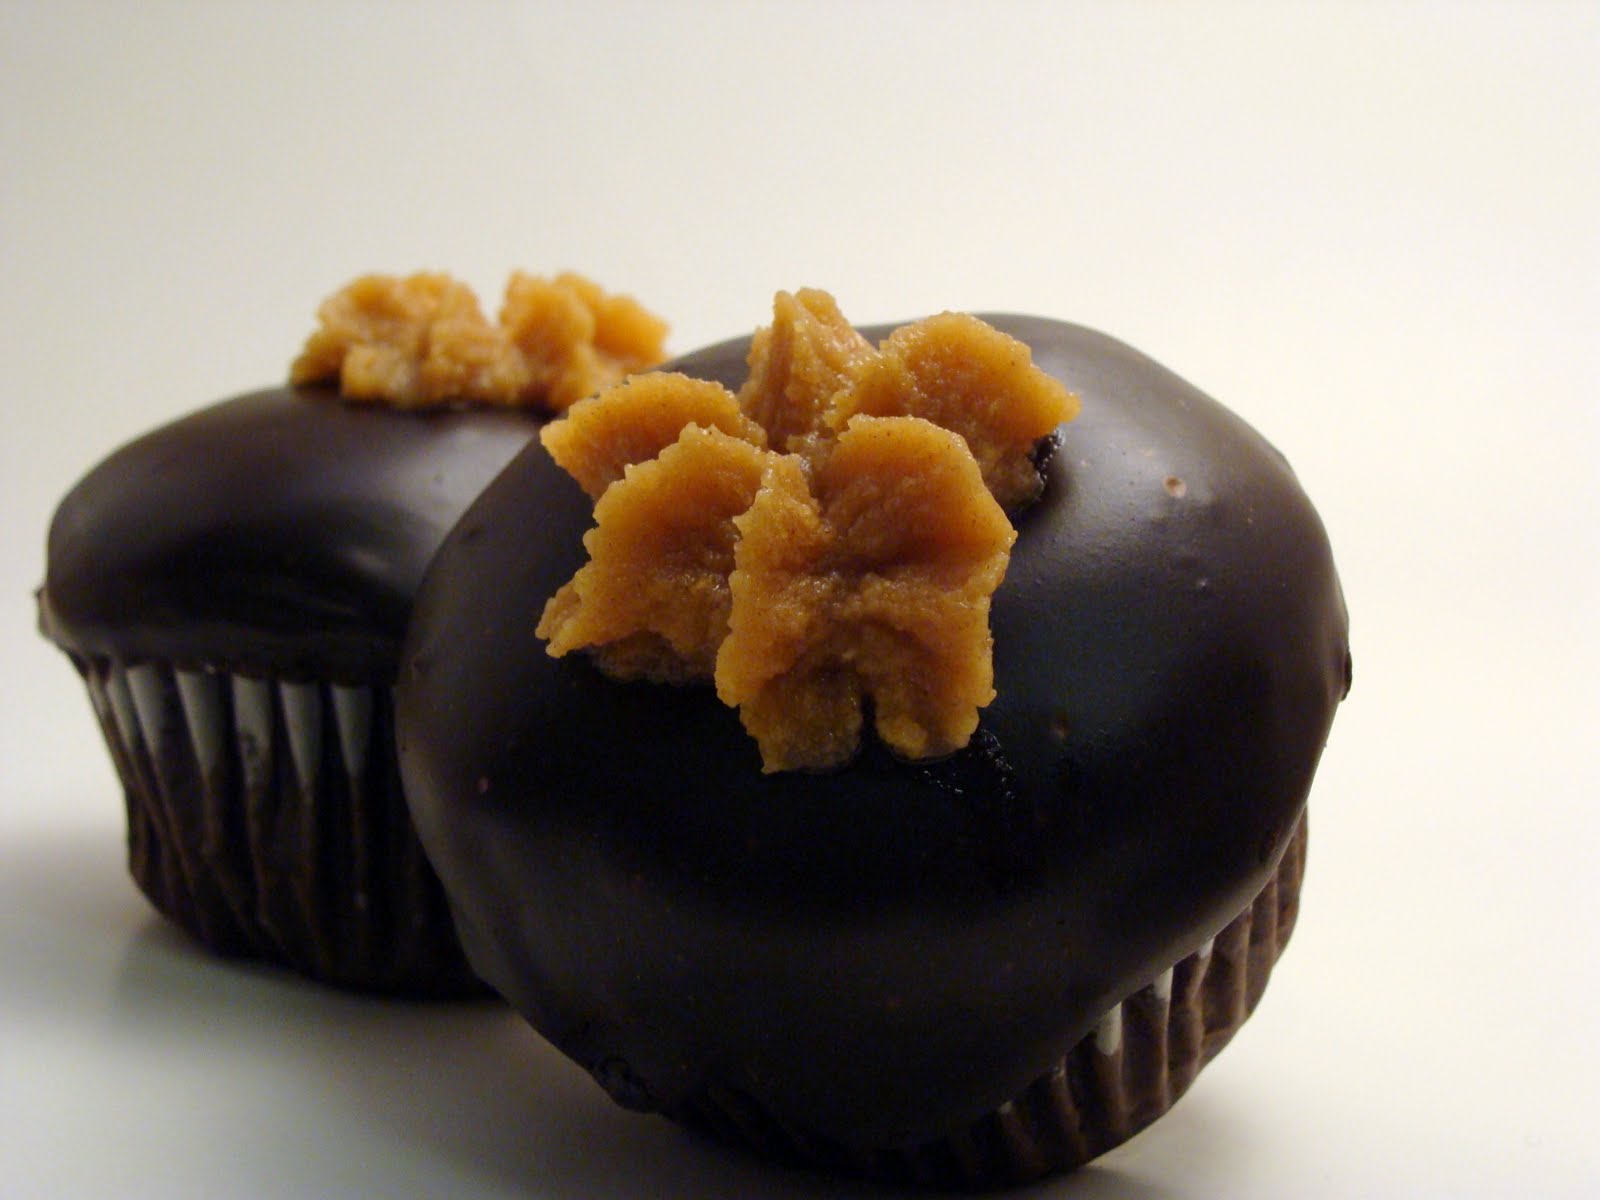
So when I turned to my little sister today and asked her what she was in the mood of eating, without missing a beat, the reply was "Bear Claws." I hadn't had one in years, and it brings back memories of the bakery from my hometown. Of course, in order to find a recipe, I immediately turned to google. I figured that this was too specialized for even allrecipes. To be fair, Allrecipes did have a bear claw recipe, but it was an almond bear claw, and that wasn't the taste we were going for. It seems that the Detroit bakery is the only place that makes chocolate bear claws- everyone else in the online community seems to be making pastries with almond paste and calling them bear claws. After combing the 'net, (does anyone use that word anymore? hello?) I found bits and pieces of what promised to be something that closely resembled the chocolate bear claws we were looking for. I have to thank my dearest oldest sister for giving us the final piece to the puzzle- the filling, without which, you would not be able to call this a chocolate bear claw! Final result: Perfect. Slightly richer than the bear claws of my youth, but yummy just the same!


Chocolate Bear Claws:
Pastry Dough
3/4 C. soy/rice milk
1/2 C. sugar
2 teaspoons salt
3/4 C. margarine
1/2 C. water 105°F.
2 pkg. active dry yeast
2 eggs
4 3/4 C. flour
3/4 C. margarine
1/2 C. water 105°F.
2 pkg. active dry yeast
2 eggs
4 3/4 C. flour
Filling:
1/2 cup oil
1 cup soy/rice milk
1 tablespoon vanilla sugar
2 tablespoons cocoa
1/2 cup sugar
*
*
(I keep botched cakes in the freezer for just such occasions)
1 cup semisweet chocolate chips
Glaze:
1 cup semisweet chocolate chips
2 tablespoons margarine
2 tablespoons corn syrup
Mini chocolate Chips to decorate
Heat milk until bubbles form around edge; remove from heat. Add sugar, salt and margarine . Stir until margarine is melted. Let cool. In separate bowl add water; sprinkle yeast in and stir until dissolved. Add milk mixture, eggs and 3 cups flour. Beat with electric mixer 2 minutes. Add rest of flour using spoon. Beat until smooth. Cover with foil and refrigerate 2 hours. Dough may be kept for 3 days in refrigerator. Bear Claws: Prepare chocolate cake and bake like regular. Combine the prepared chocolate cake* and all filling ingredients (except chocolate chips) in a food processor fitted with the knife blade, and pulse until it has a smooth, paste-like consistency. Divide dough in half and roll into a 18 x 9-inch rectangle. Pat filling paste over dough as smoothly as possible. Sprinkle chocolate chips over filling and press down into filling. Fold into thirds; pinch edges together. Cut crosswise into 6 sections. On open side make 3 (1-inch cuts), evenly spread. Place on greased cookie sheet. Repeat with remaining dough. Cover and rise about 45 minutes. Preheat oven to 375°F. and bake 15 to 20 minutes or until golden brown. Melt all glaze ingredients in microwave for 30 seconds, stir and microwave another 30 seconds. Pour into ziploc bag, and snip off corner. Drizzle over cooled bear claws. Sprinkle with mini chocolate chips.  Variation: (above) Instead of chocolate filling: Brush 2 tablespoons melted margarine over rolled dough. Mix 1/2 cup brown sugar, 1/2 cup white sugar and 1 tablespoon cinnamon. Sprinkle over margarine and roll as instructed above. For the glaze, heat 3 tablespoons milk and 1 teaspoon instant coffee. Add 1 1/2 cup powder sugar. Stir in 2 tablespoons corn syrup, 1 teaspoon vanilla, and drizzle over bear claws. Sprinkle with slivered almonds for decorations. *There seems to be a glitch with the print button, and the line " One recipe chocolate cake" does not print. I am trying to resolve this, but in the meantime, don't forget the chocolate cake in the filling! |